

Practicing Lip Blush on Fake Skin: A Step-by-Step Process
Before tools, brands, or techniques, understand this:
Lip blush practice is about control, pressure, and layering.
Not speed. Not saturation on the first pass.
Fake skin exists to let you make mistakes safely.
Why I Practice Lip Blush on Fake Skin First
You can repeat the same movement dozens of times
You clearly see over-saturation mistakes
You learn how fast pigment builds
You remove stress from early learning
Fake skin doesn’t replace models. It removes unnecessary mistakes before you get there.
My Step-by-Step Lip Blush Practice Process
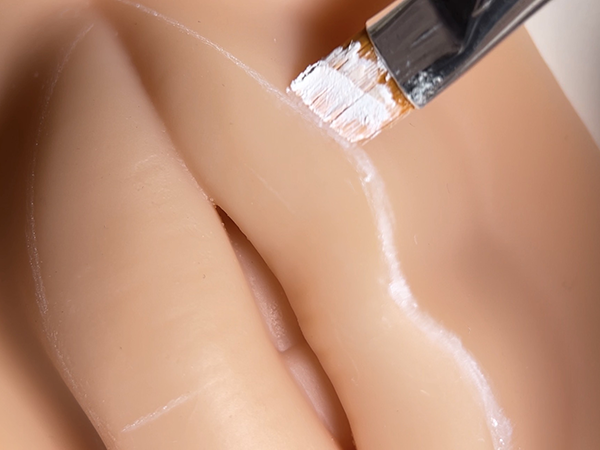
Step 1 – Outline & symmetry control
I always start from the center of the bottom lip and work outward toward the corners.
Movements are short, light, and controlled
No pressure. The goal is placement, not color.
After each small section, I wipe with a cotton pad or Q-tip to check visibility.
If the line disappears, I don’t push harder. I adjust speed, angle, or hand movement instead.
This step is about teaching your hand how little is actually needed to create a visible, clean outline.
A good outline should be:
Barely visible
Even on both sides
If the outline already looks heavy, everything that follows will be harder to control.
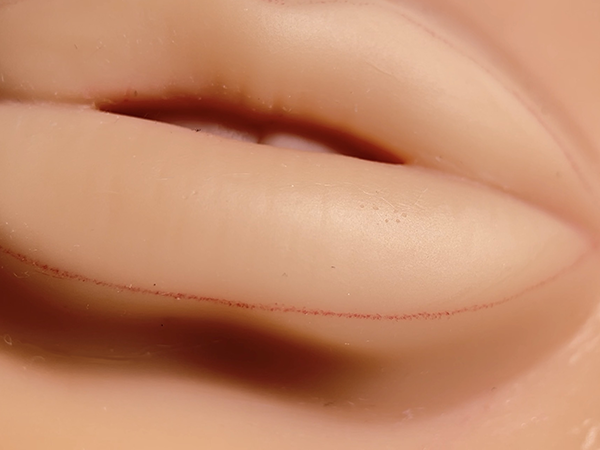
Step 2 – First saturation layer
Even though this is fake skin, I treat it as if I’m working on a real model.
The goal of the first pass is to place pigment as evenly as possible, without forcing intensity.
Soft, consistent passes
Controlled speed
Focus on even distribution
I try to cover as much of the lip area as possible in the first layer, while keeping everything light.
This helps me understand how the pigment spreads and where it naturally wants to build.
If an area looks uneven, I don’t correct it immediately by going over it again.
I leave it, observe it, and adjust in the next layer.
This step trains patience and prevents overworking later in the process.
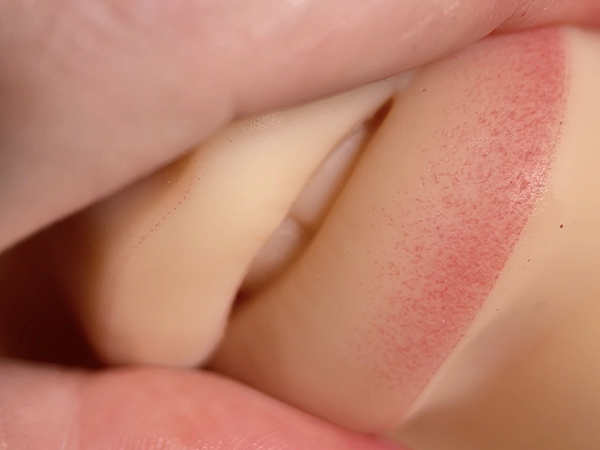
Step 3 – Building saturation gradually
In this step, I slowly build saturation by following the natural anatomy of the lips.
Instead of trying to “finish” the lips, I focus on controlled shading:
Gradual layering
Light pressure
Directional movement that follows the lip shape
I allow more pigment where lips are naturally fuller and keep the edges softer.
The center builds slightly faster, while the borders stay diffused.
This step is about guiding the pigment, not forcing it.
Shading like this creates a more realistic lip blush effect and prevents harsh borders.
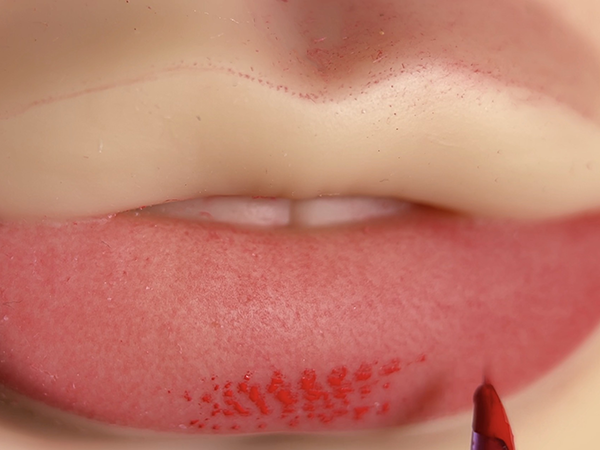
Step 4 – Final refinement & evaluation
The final result should look even, soft, and controlled.
At this stage, I’m not adding intensity.
I’m checking balance and texture.
What I look for:
Even distribution across the lips
Visible, clean pixels
No harsh borders
No areas that look packed or muddy
If the pixels are visible and consistent, I stop.
Overworking at this point only damages the result.
Fake skin is not meant to look “perfect.”
It’s meant to show control, layering, and restraint.
A successful practice result looks soft, breathable, and intentional. Check balance under good lighting
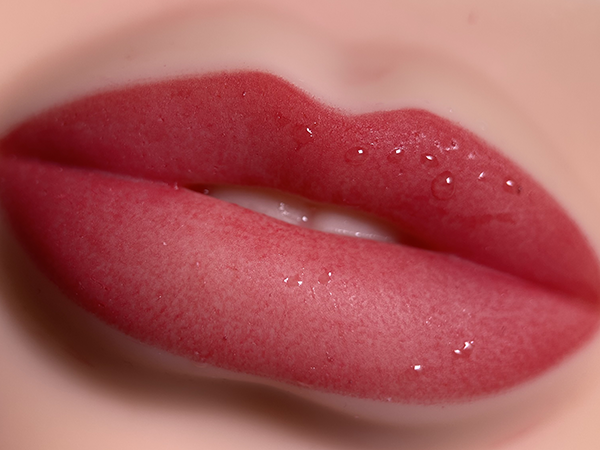
For this practice piece, I used Kwadron 30/1 RL for the outline and Kwadron 25/3RL for shading.
For training on fake skin, there’s no need to use new or expensive pigments. Practice inksor expired inks are perfectly suitable for learning and layering. Always use fresh, approved products for real clients.

Practice Materials I Use for Lip Blush Training
These are the practice surfaces I rotate between when training lip blush.
You don’t need all of them at once. Each one teaches something different about control, pressure, and layering.
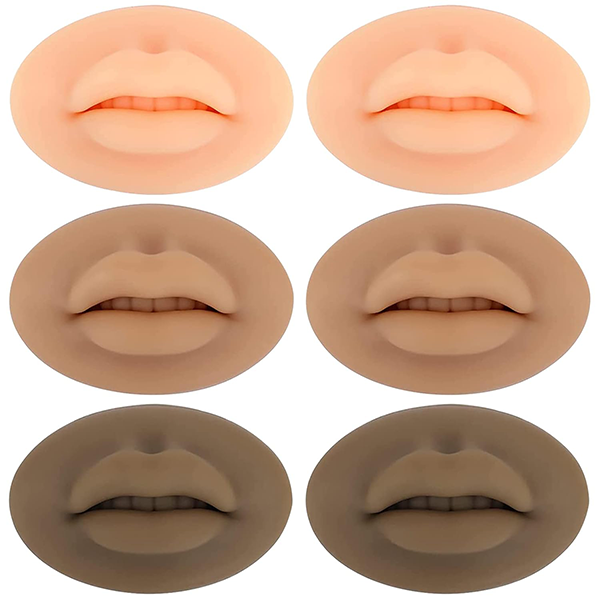
1. 3D Silicone Lip Models (Multiple Skin Tones)
What they’re good for:
These mimic real lip volume and curvature. They help you understand how pigment behaves on raised surfaces and how saturation builds differently on peaks versus inner areas.
Why I use them:
They’re ideal once you’ve already practiced basic movements and want to simulate realistic lip anatomy without working on a model.
2. Lip Practice Sheets (Embedded Lip Shapes)
What they’re good for:
These are perfect for practising different lip shapes. You can repeat the same motion many times and immediately see mistakes.
Why I use them:
They’re excellent for early practice when you’re still learning how pigment spreads and how fast saturation builds.
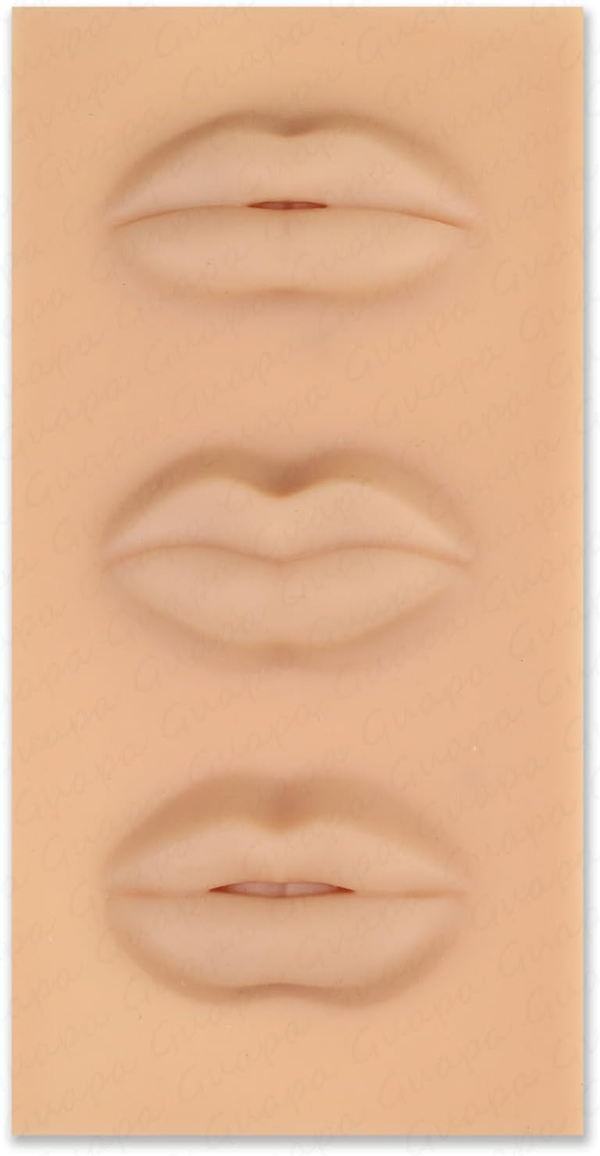
3. Multi-Lip Silicone Practice Lip Shapes
What they’re good for:
These give you repetition. Multiple lip shapes on one surface allow you to practice consistency across different proportions.
Why I use them:
They’re efficient. You can test different approaches on each lip without resetting your setup.
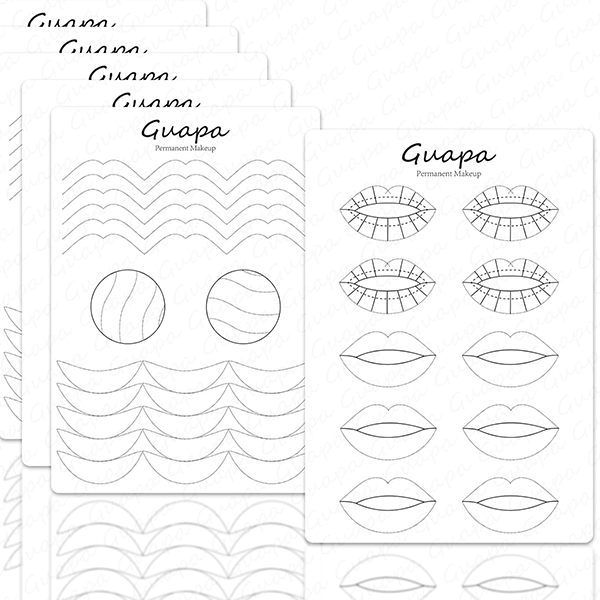
4. Guided Silicone Lip Practice Sheets (With Directional Markings)
What they’re good for:
These silicone sheets have pre-drawn lines that guide movement and shading direction. They help train your hand to follow flow instead of randomly filling space.
Why I use them:
They bridge the gap between flat practice and freehand work. You’re not guessing where to move. You’re training your hand to respect direction, rhythm, and consistency.
Important Note on Supplies
You do not need expensive pigments or professional needles to practice technique.
For training purposes:
Practice pigments exist and are perfectly fine
The goal is control, not color perfection
Save professional products for real clients
Practice is about repetition and understanding behavior. Not branding.
Closing Thought
Each surface teaches something different.
Progress isn’t about rushing to the most realistic option.
It’s about choosing the right surface for the skill you’re training right now.
Explore Face Chart Practice Resources →
PMU Practice & Training Articles